Configuring your Aircraft
1. - Accessing the Aircraft Module
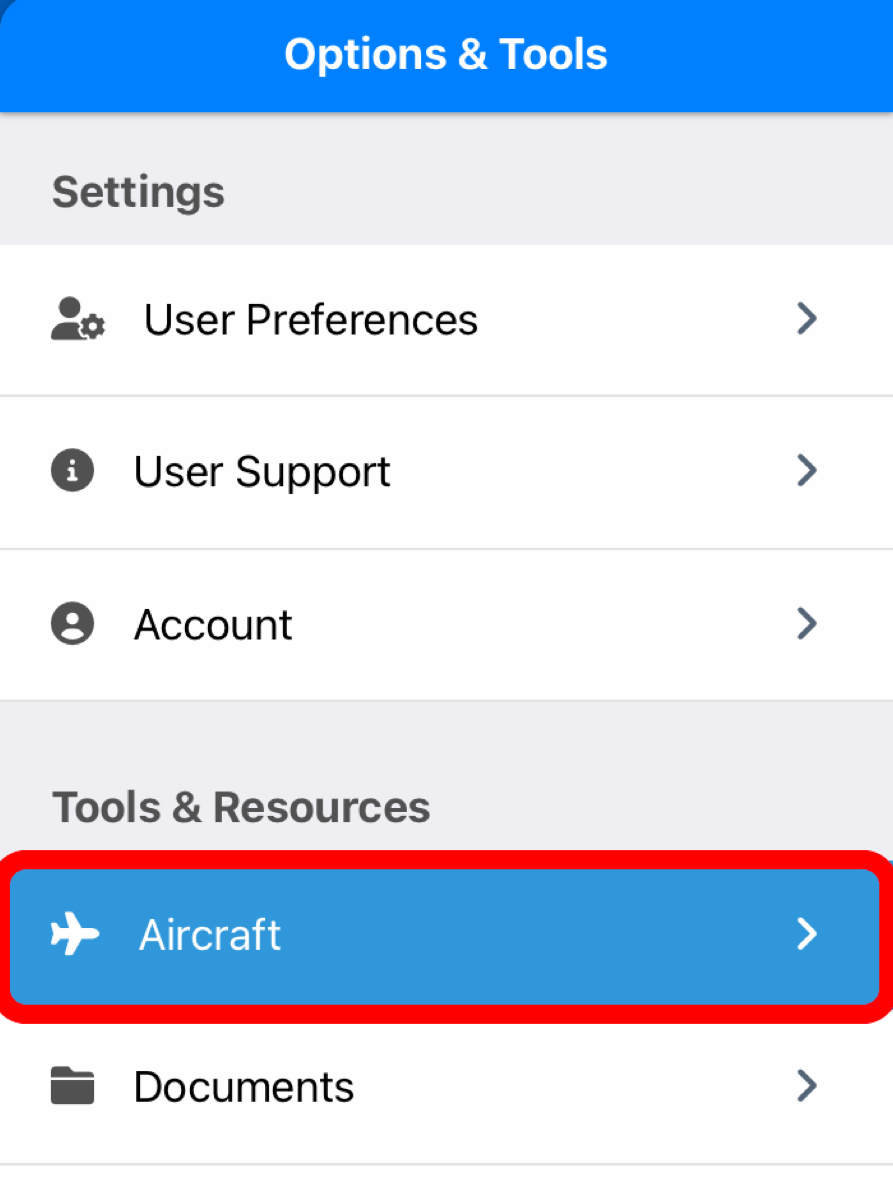
A. - The Aircraft Module can be accessed through a few dfferent ways, with the primary method of being the selection of the "MORE" button located in the bottom right corner of the display screen.
B. - Upon accessing the "MORE" section, the options and tools menu will be presented. By scrolling down within the menu, the "Tools & Resources" section can be located. Under this section, the Aircraft Menu will be available for selection.
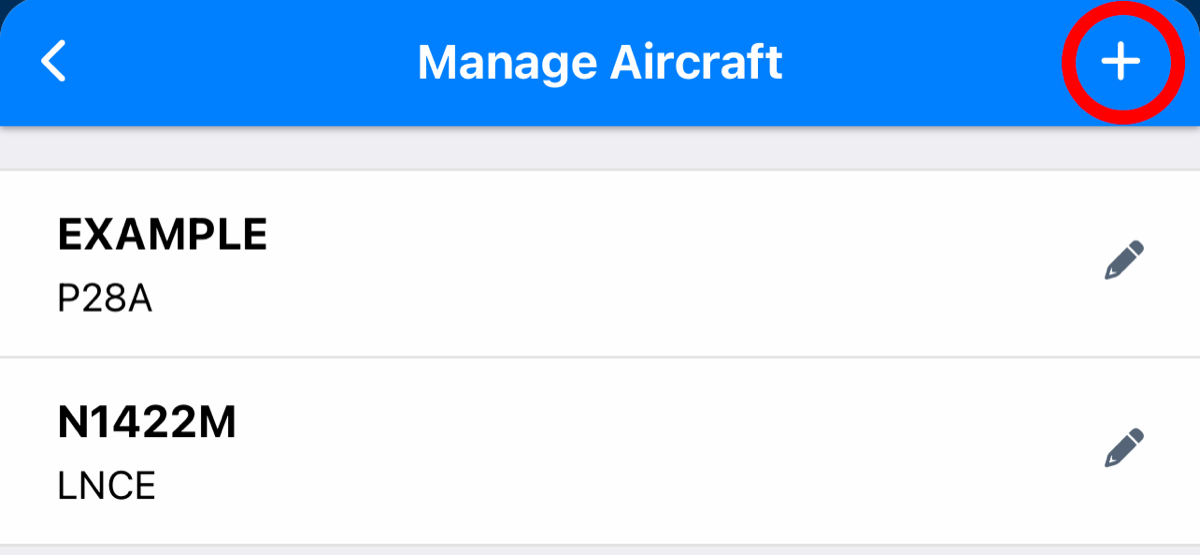
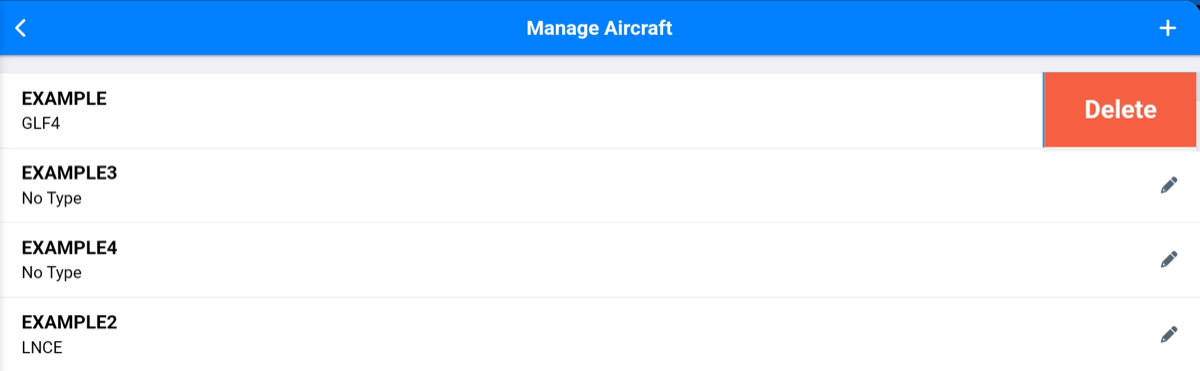
A. - Upon selecting the "Aircraft" option, the "Manage Aircraft" menu will be displayed. This menu also allows for the review of any previously created aircraft. To add a new aircraft, the "+" button located at the top of the menu window should be selected. Once you have selected the “+” button, the “Edit Aircraft” menu appears.
3. - Entering Aircraft Details
Once inside the “Edit Aircraft” menu, you will have many editable fields.
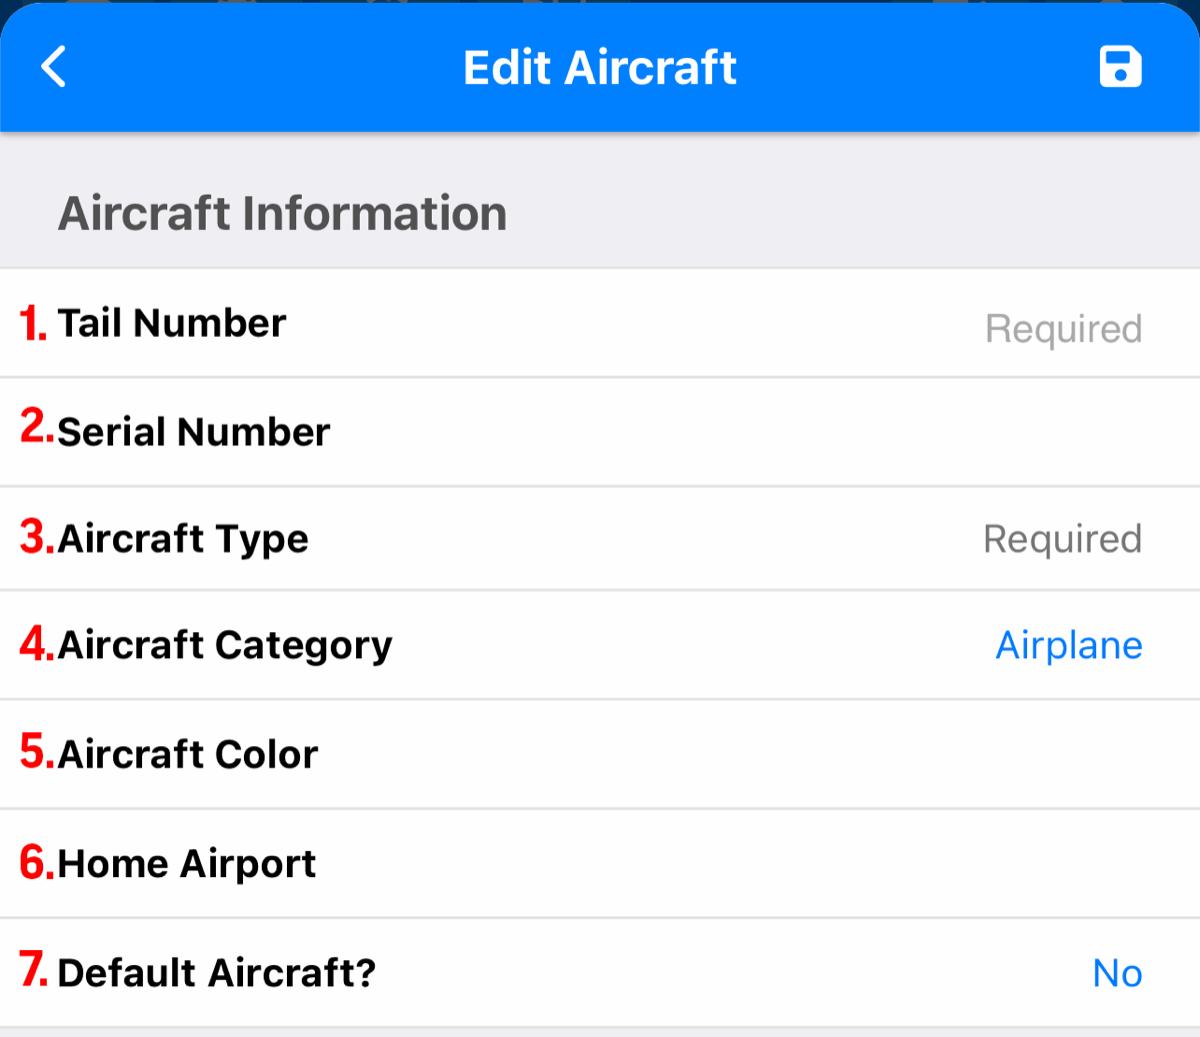
A. - Aircraft Information Section
1. - Tail Number (REQUIRED) – This is your aircraft registration number.
2. - Serial Number – This is provided by the aircraft’s manufacturer
3. - Aircraft Type (REQUIRED) – This is your Aircraft Type Designator. Upon selection of this field, the "Aircraft Type Search" window will appear. A description of the aircraft, such as "C172" can be entered, which will then generate a list of aircraft designators to choose from. The designator that matches the aircraft in question should be selected.
4. - Aircraft Category – Specify the aircraft classification, which can be one of the following options: Airplane, Rotorcraft, or Other.
5. - Aircraft Color – Specify the color of the aircraft. Important for flight plans.
6. - Home Airport – Primary airport the aircraft flies out of.
7. - Default Aircraft – Set as your primary aircraft. This aircraft will be automatically added to your flight planner and route manager.
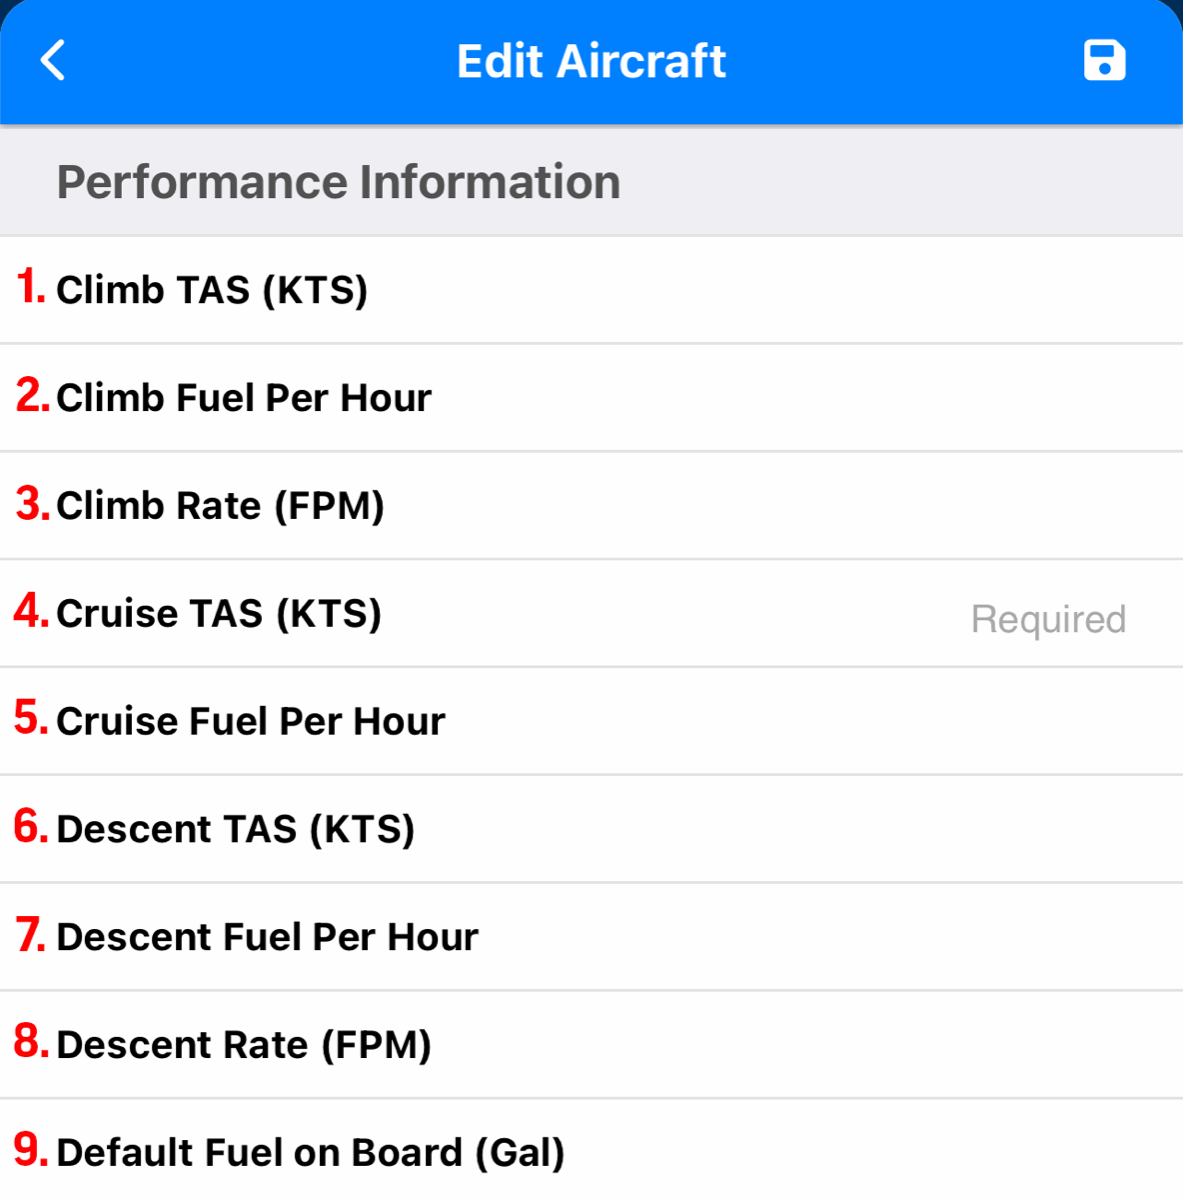
B. - Performance Information
1. - Climb TAS (KTS) – Climb true airspeed in knots
2. - Climb Fuel Per Hour – Climb fuel burn per hour
3. - Climb Rate (FPM) – Climb rate feet per minute
4. - Cruise TAS (KTS) (REQUIRED) – Cruise true airspeed in knots
5. - Cruise Fuel Per Hour – Cruise fuel burn per hour
6. - Descent TAS (KTS) Descent true airspeed in knots
7. - Descent Fuel Per Hour – Descent fuel burn per hour
8. - Descent Rate (FPM) – Descent Rate feet per minute
9. - Default Fuel on Board (Gal) – Default onboard fuel in gallons
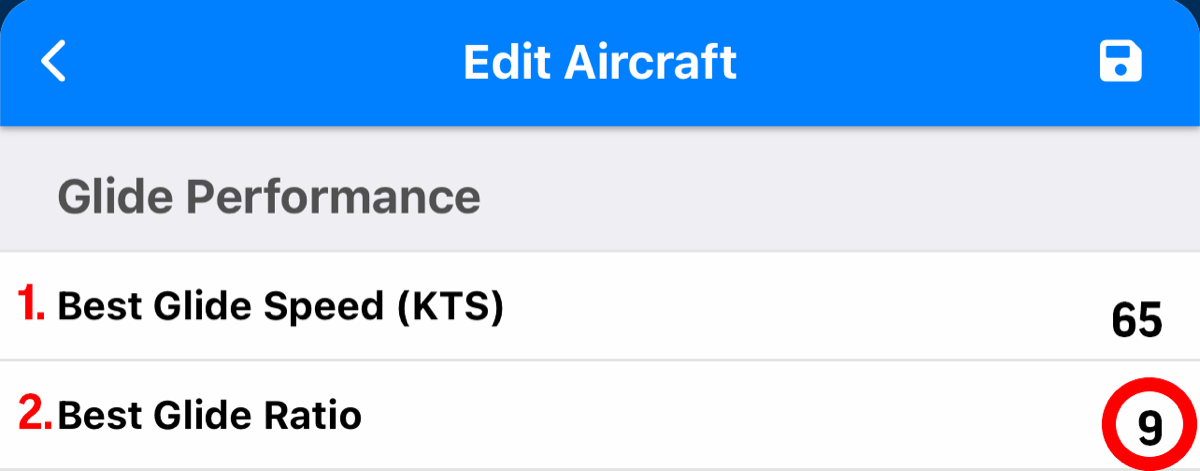
1. - Best Glide Speed (KTS) – Aircraft’s best glide speed in knots
2. - Best Glide Ratio – Glide ratio is the ratio of distance traveled to altitude lost in a glide. It is related to the lift-to-drag ratio (L/D). L/D ratio varies with airspeed and is used to determine the best engine-out glide performance. The maximum L/D ratio is called L/Dmax. For Cessna 172, the L/Dmax is about 9, giving it a glide ratio of 9:1. You would enter 9 as your Best Glide Ratio.
Glide ratios can vary widely, gliders can have ratios above 60:1, while the Space Shuttle had ratios ranging from 1:1 to 4.5:1.
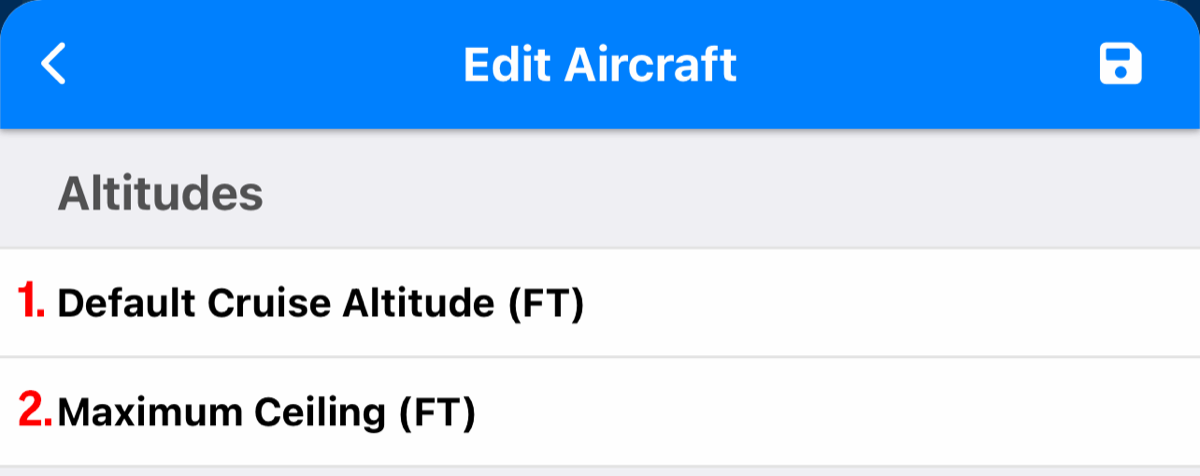
1. - Default Cruise Altitude (FT) – Cruise Altitude in feet
2. - Maximum Ceiling (FT) – Max Ceiling in feet
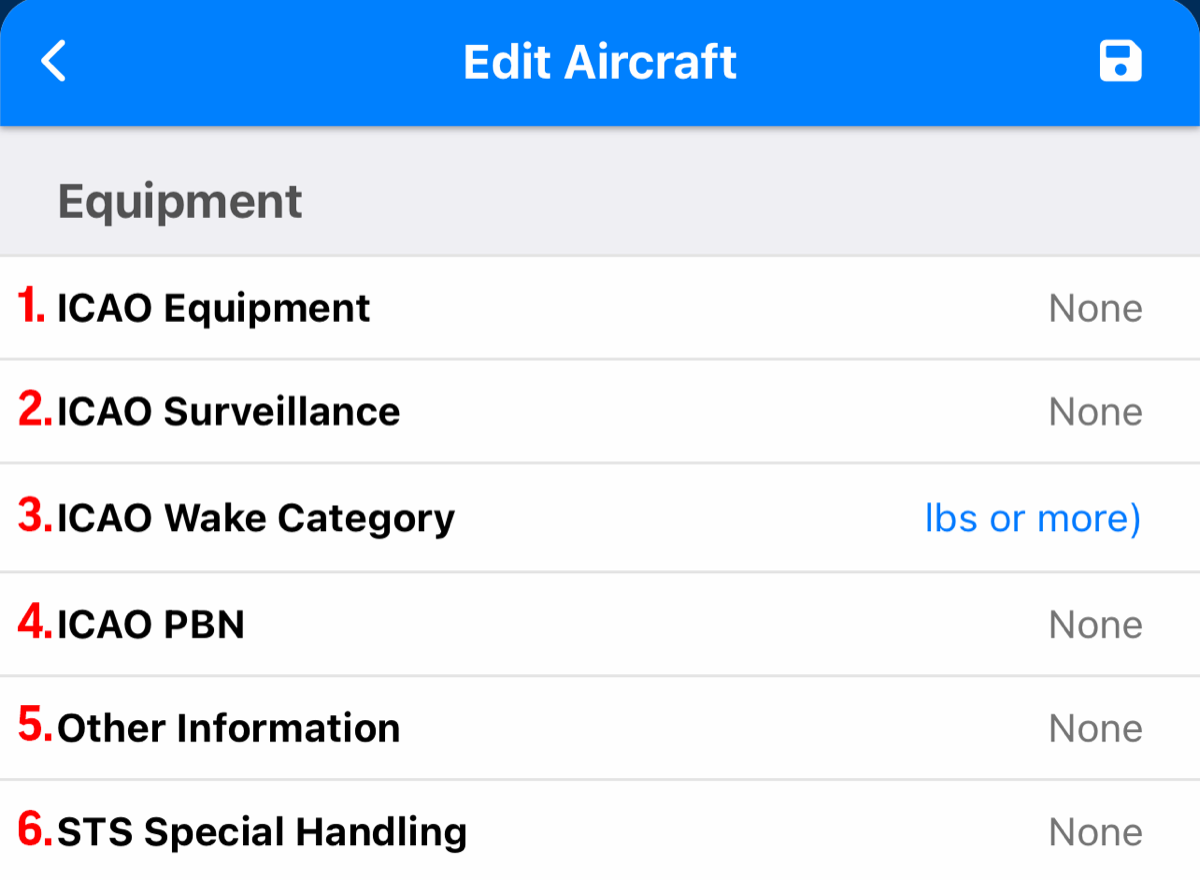
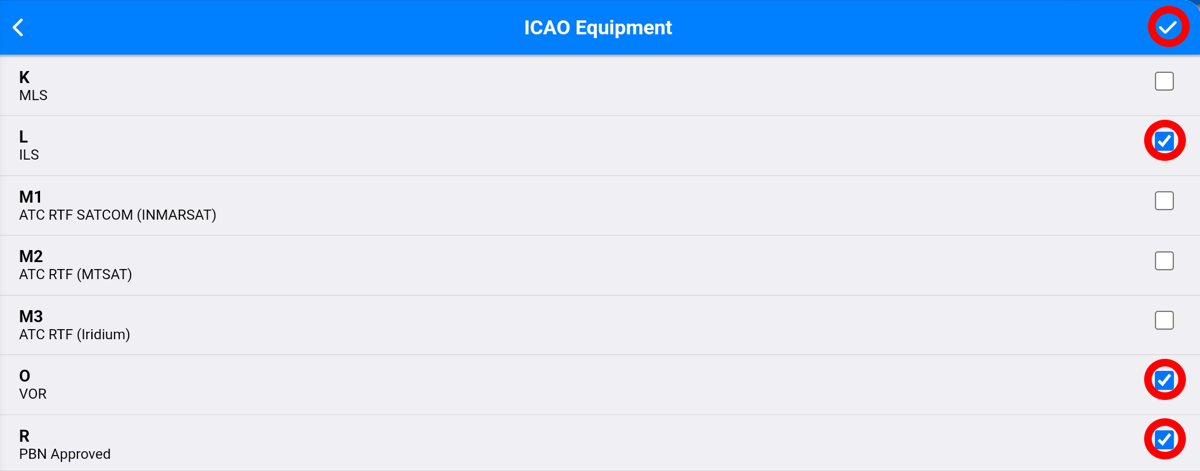
1. - ICAO EQUIPMENT (REQUIRED) – The field serves as the designated area for specifying the navigation, approach aid, and communication equipment on board the aircraft. Upon accessing this field, the ICAO Equipment list will be presented. It is necessary to review and select the equipment that corresponds to the specific configuration of the aircraft. Once the appropriate equipment has been selected, the check mark icon located on the top right corner of the ICAO Equipment screen should be activated to confirm the selection.
Below is a list of the most selected ICAO Codes.
| ICAO Code | Description |
|---|
| N | This selection should only be activated if the aircraft in question is not equipped with any navigation, approach aid, or communication equipment, or if such equipment is not operable. |
| S | The standard selection for many aircraft includes the capabilities for Instrument Landing System (ILS), VHF Omnidirectional Range (VOR), and VHF Communication. When selecting the option "S", it is not necessary to individually select options "L", "O", or "V" as they are already included in this standard selection. |
| B | Aircraft is WAAS capable with LPV |
| D | Aircraft has a separate DME |
| F | Aircraft has a separate ADF |
| G | Aircraft has GPS |
| I | Aircraft has an Inertial Navigation |
| R | Aircraft uses PBN Codes |
Once you have confirmed your selections, you will see the selected ICAO codes in the “ICAO Equipment” field.
2. - ICAO Surveillance (REQUIRED) – Transponder code required by ATC for a flight plan to be filed. Upon accessing this field, the ICAO Surveillance list will be presented. It is necessary to review and select the equipment that corresponds to the specific configuration of the aircraft. Once the appropriate equipment has been selected, the check mark icon located on the top right corner of the ICAO Surveillance screen should be activated to confirm the selection.
Below is a list of the most selected ICAO Surveillance Codes
Once you’ve confirmed your selections, you will see the selected ICAO Surveillance Code in the “ICAO Surveillance” field.
| ICAO Surveillance Code | Description |
|---|
| N | NIL – No Transponder |
| A | Mode A only – No altitude |
| C | Mode A and C |
| E | Mode S, Aircraft ID, Altitude, Squitter – Most Common in ADS-B |
| H | Mode S, Aircraft ID, Altitude, Enhanced Surveillance |
| I | Mode S, Aircraft ID, No Altitude |
| L | Mode S, Aircraft ID, Altitude, Squitter, Enhance Surveillance |
| P | Mode S, Altitude, No Aircraft ID |
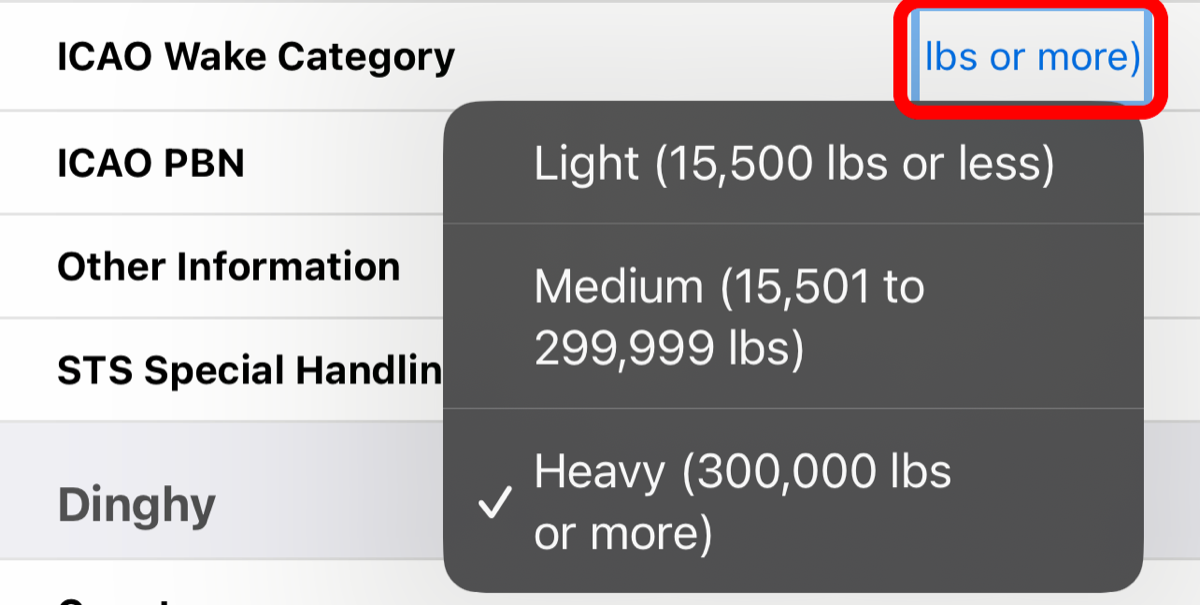
3. - ICAO Wake Category (REQUIRED) – Wake turbulence category that are used to determine the separation distances that are required between aircraft during take, approach, and landing. These are defined as follows:
| Wake Category | Maximum Certified take-off mass |
|---|
| Light | 15,500 LBS (7000 KG) or Less |
| Medium | Between 15,501 LBS (7001 kg) and 299,999 LBS (135,999 KG) |
| Heavy | 300,000 LBS (136,000) or More |
To specify the appropriate Wake Category for your aircraft, access the ICAO Wake Category drop-down field. This action will initiate the display of a selection menu, from which the options of Light, Medium, or Heavy can be chosen to align with the characteristics of the aircraft.
4. - ICAO PBN (REQUIRED IF EQUIPPED) – If you have selected R as an ICAO equipment, you are required to select the Perf-Based Nav your aircraft has.
Upon accessing this field, the ICAO PBN list will be presented. It is necessary to review and select the equipment that corresponds to the specific configuration of the aircraft. Once the appropriate equipment has been selected, the check mark icon located on the top right corner of the ICAO PBN screen should be activated to confirm the selection.
5. - Other Information - can be considered the catch-all for the ICAO flight plan. Any information or data that needs further clarification or supporting details should be entered into this field. As mentioned previously, the Other Information field is the location for data such as PBN values prefaced with a PBN/. Also, detailed aircraft type, departure, destination, or alternate locations should be entered here if ZZZZ was used in their respective fields prefaced by their proper identifier. Similar to the domestic flight plan, plain language remarks are entered here prefaced with RMK/.
Upon accessing this field, the Other Information list will be presented. Select any field you wish to add more details to and enter the information for that field. Once you have completed your entry, select the check mark at the top right corner of the Other Information screen to save your entry.
6. - STS Special Handling – In the event that a special status is required for the flight plan, access the designated field for specifying such a requirement. This will navigate to the STS Special Handling menu, where the necessary option can be selected from the available choices to ensure compliance with the specific operational needs. These are defined as follows:
| STS Code | Definition |
|---|
| ALTRV | Altitude Reservation |
| ATFMX | Exempt from ATFM |
| FFR | Firefighting |
| FLTCK | Flight Check |
| HAZMAT | Hazardous Material |
| HEAD | Head of State |
| HOSP | Medical Flight |
| HUM | Humanitarian |
| MARSA | Military Separation |
| MEDEVAC | Medical Evacuation |
| NONRVSM | Non-RVSM in RVSM |
| SAR | Search and Rescue |
| STATE | Military/Customs/Police |
Once the appropriate status has been selected, the check mark icon located on the top right corner of the STS Special Handling screen should be activated to confirm the selection.
1. - Count – The amount of Dinghies on the aircraft
2. - Capacity (Person) – Total capacity dinghies can support (1, 10 person dingy = 10 Persons)
3. - Color – Color of the Dinghy
4. - Covered – Covered (Yes or No)
1. - Life Jacket – Enter quantity / Type
2. - Radios – Enter quantity / Type
3. - Survival – Enter gear, type, and quantity
4. - Survival Remarks – Optional remarks
Upon completion of inputting all the required data and supplementary details pertaining to the aircraft, it is essential to initiate the save function to ensure accessibility to the aircraft's information. This action can be performed by accessing the save icon located on the upper right corner of the Edit Aircraft module.
5. - Deleting and Aircraft
To delete an aircraft from your account, access the Manage Aircraft module and use a leftward swipe gesture on the aircraft you intend to delete. This will unveil the delete option, which can be selected to proceed with the removal of the aircraft. It's important to note that once the deletion process is completed, the aircraft cannot be recovered.